On the radio

Mar 1, 2026

Maybe it's a sign of how old I really am, but I could not be more excited to hear one of my songs on the radio. Yes, streams are great and I certainly appreciate those, but there's something special about radio; someone deciding to play your song for others.

On March 1st, my song The Good Fight will (or did, depending on when you read this) have its radio premiere on 91.1 WDDE in Delaware (streaming on delawarepublic.org). A few songs that I've written and/or performed have been on the radio before, but this is the first one I've written, performed, and produced, so it's pretty special.

The March 1st edition of Hometown Heroes was its St. Patrick's Day show, featuring Shades of Green, an Irish / Americana band of which I am privileged to be a member. The show featured two of our recent recordings, two in-studio performances, and also a spin of The Good Fight. It just so happens that Coleen Colon, who lent her voice to the song, also joined us in studio as she is guest vocalist on a number of Shades songs as well. 


Listen to "The Good Fight"

Visiting the Hometown Heroes studio with Shades of Green (l-r): Scot Silver, Coleen Colon, myself and Pat O'Shea (far right)

Compared to some other gear-repair posts I’ve done, this one is really pretty basic, but as someone who is often trying to repair something for the very first time, I always appreciate if I can find out ahead of time what’s involved and how difficult it is. So in that spirit, here’s a very short how-to.

The good news is that this is a very simple fix: it will take you less than fifteen minutes. All you need is a small-ish Phillips-head screwdriver and some WD-40.

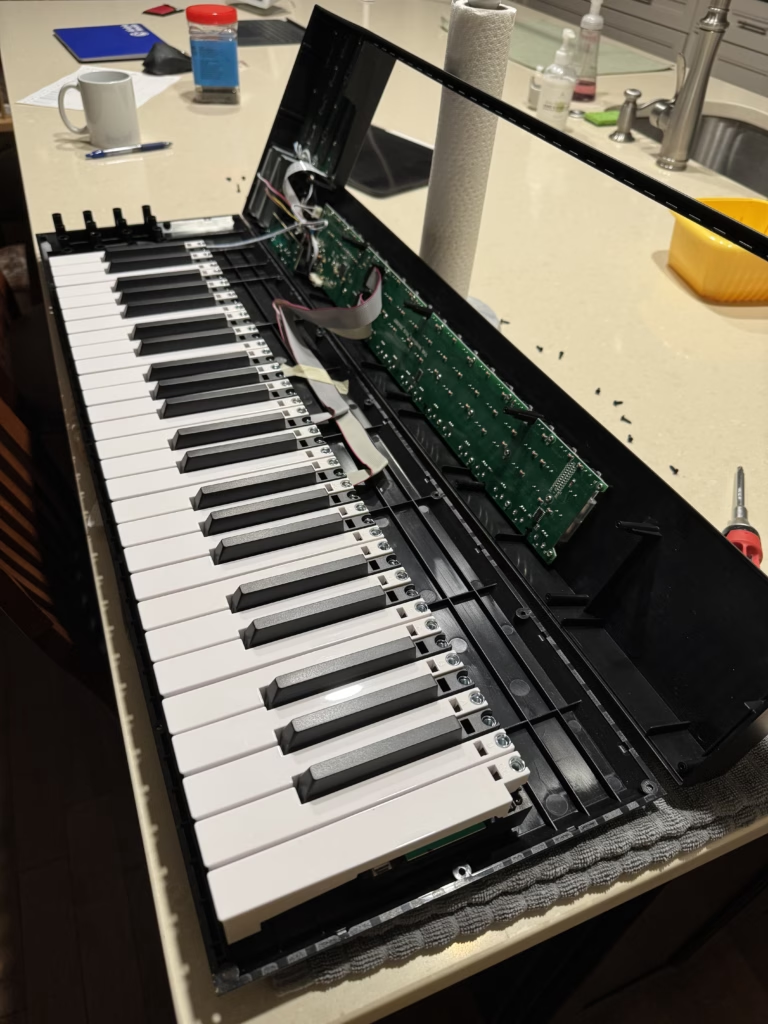
Step 1 (of 3) is to open the case. You do this by unfastening all of the screws on the bottom side of the keyboard. Actually, you probably only need to remove the screws along the perimeter. there are a half-dozen or so screws more in the center of the keyboard, but it doesn’t seem that they connect to the upper housing. I did remove all of the screws and didn’t have a problem, but I’d try just starting with the perimeter screws because I think that’s all you need.

All of the screws are of the same size and length, so you do not need to keep track of which came out of which hole.

Once the screws are removed, lift the housing from the front. Pay attention to the two ribbon cables that connect the lower housing to the upper housing. You do not need to disconnect the cables; they are long enough that you can lift the upper housing with the cables in place.

The squeaking sound you hear when you press your problem key is caused by friction between the key and the spring that provides resistance to your playing (and, of course, returning the key to its starting position). A tiny bit of WD-40 sprayed on the spring should quickly resolve the issue.

Play each key repeatedly and check to make sure it’s not squeaking. If it is, give it a shot of WD-40. Do not overuse the spray.

When all the keys are quiet, lower the upper housing and replace all of the screws you removed in step 1. That’s it. I did have a squeak return after about a year, but this process is so easy I did not really mind repeating it. I suppose you could consider other lubricants if this fix doesn’t last long enough for you, but I have no specific recommendation.

Best of luck!